 |
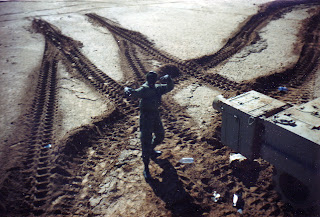
| Mark in his earlier Abrams |
To achieve this goal, I bought in local hobby store 1/72 Abrams model kit by Dragon. In fact I had no choice at all, since it was the only one Abrams in 1/72nd available there.
Inside the box we find following sprues
and instructions
I also bought set of US Modern Tankers figures by Preiser for this project.
Next step - hull assembly... and more putty.
Even bigger unpleasant surprise is rear turret stowage basket, which Dragon molded as a solid piece (this element looks way better in Revell kit). So, I built one a new one from styrene profiles and copper wire.
I also added towing cables made of twisted wire, and brackets from brass leftovers.
Browsing through pictures taken from my friend's collection I found another missing element - diesel generator.
I had no other choice than make one, which I did from some scrap pieces I found in my old stash. I also made ammo boxes (Evergreen profiles) and metal plate mounted on the rear basket, bearing vehicle's tactical number.
Having all components assembled, I could move to painting.
I decided to place Abrams on simple base. I used cheap picture frame, replacing glass with styrene sheet. I used scale railroad ballast mixed with sand colored pigments to imitate desert.
To complete the tank, I added various stowage item which I received from my friend Piotr. I was ready to mount Abrams on the base.
To finish the project I added two tank crew figures. It was a quite of challenge to paint chocolate chip camo pattern on them. Regarding original Marl's tank, I extracted chevrons and numbers from supplied pictures, and printed my own decals. To add final touches, I used Mig's neutral wash and I dusted tank with sand colored pigment. The Abrams was ready.
Few close-ups
This build was also the first one I displayed during model show, where it took 2nd place in 1/72 Armor category.
After the model show, I presented built Abrams to my friend Mark.


this is shawn leblanc (chandapoe my wife ebay name i use just so you know) guess you are a modeler. this is top notch stuff buddy. very impressed! admire anyone who pulls off that detail in that micro scale nice work my man. why you built it is awesome!!!!
ReplyDeleteThanks Shawn :)
ReplyDeleteIt was my first model after coming back to hobby little over 3 years ago (after over 10 years break). Soon I hope to upload more recent build, which look much better (at least for me).
Cheers,